Composting… the decomposition of organic matter… happens with or without our help. When conditions are right, things that were once alive will decay and go back to the earth. The whole point of backyard composting is to hurry Mother Nature along. And why would we want to do that? Bare with me for just a moment while my inner composting geek comes out, and I think you’ll understand.
Mother Nature Gets It.
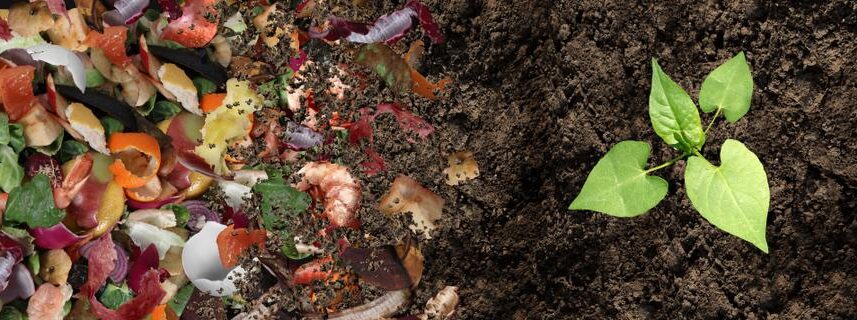
Focusing specifically on plants: they grow… they die… they go back to the earth to decompose and make new soil to nurture more plants. It’s one big beautiful circle. Sending plant and food “waste” to the landfill or down the garbage disposal does none of that.
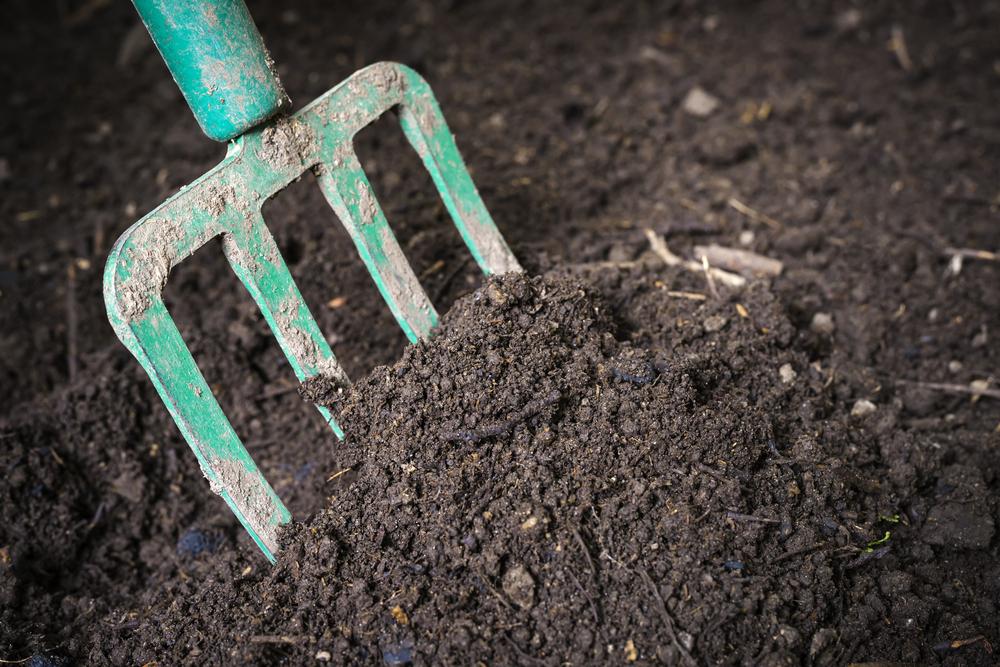
“Finished” or fully-decomposed compost is a wonderful thing. When it’s worked down to a plant’s root zone, it brings soil to life. More accurately, it introduces and nourishes billions of microorganisms that make the nutrients in the soil something your plants can use.
With regular applications, compost is also a game-changer for opening up clay soil by creating tiny air pockets that roots need to thrive. And somewhat magically, it seems to me, compost turned into sandy soil works wonders, too. It holds on to water so the moisture doesn’t simply drain away before a plant can use it.
It’s okay to keep things simple.
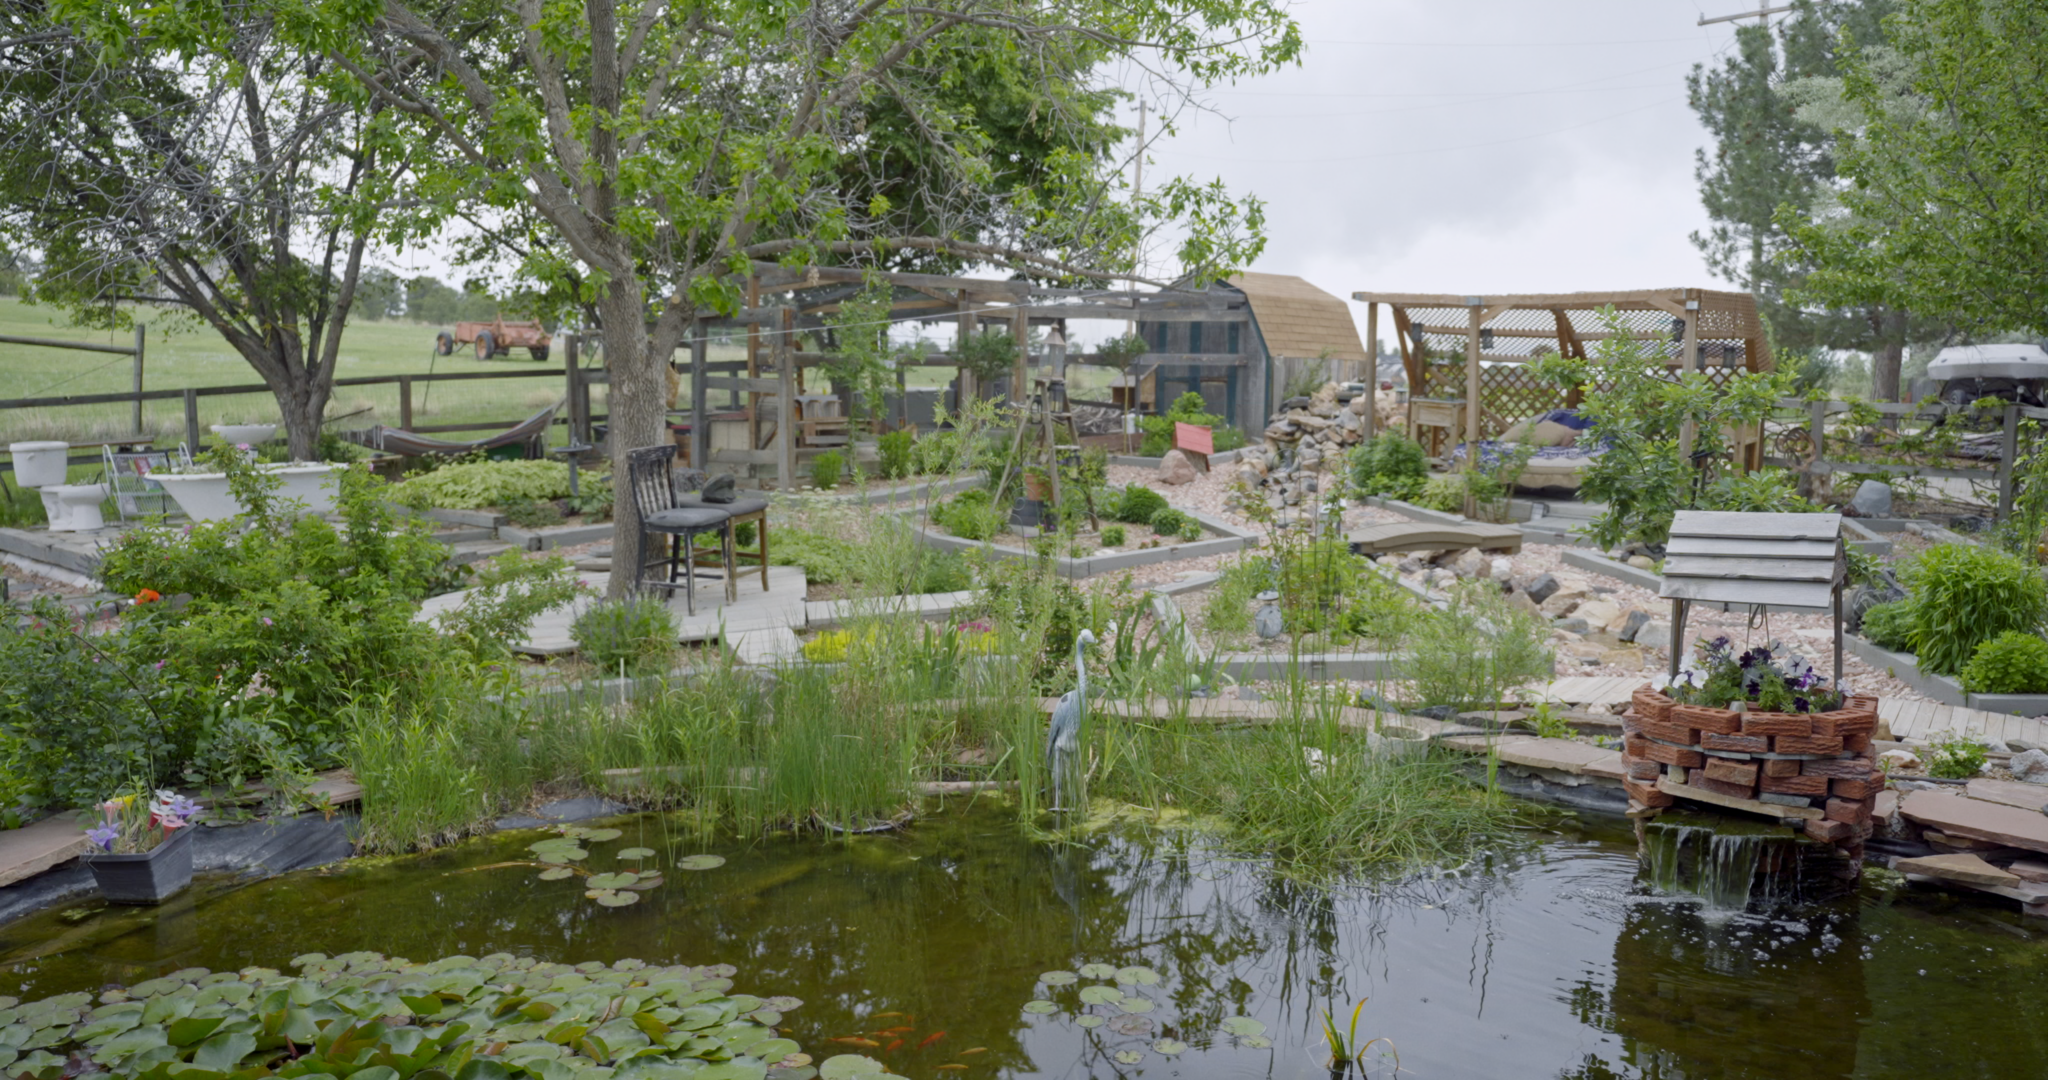
Backyard composting can be as easy or as elaborate as you want to make it. My goal with this blog is to explain the most basic mechanics of how composting works, so you can decide if some form of backyard composting makes sense for your garden.
Browns, greens, water, air and time
That’s it in a nutshell. The five essential ingredients for making compost. Proportions count, as I’ll explain. And there are some simple techniques that will help your compost “cook” or begin to decompose more quickly and more efficiently. But basically, it comes down to those five components.
The browns include things like dried leaves, as in autumn leaves, right? What a great time to start a compost pile!
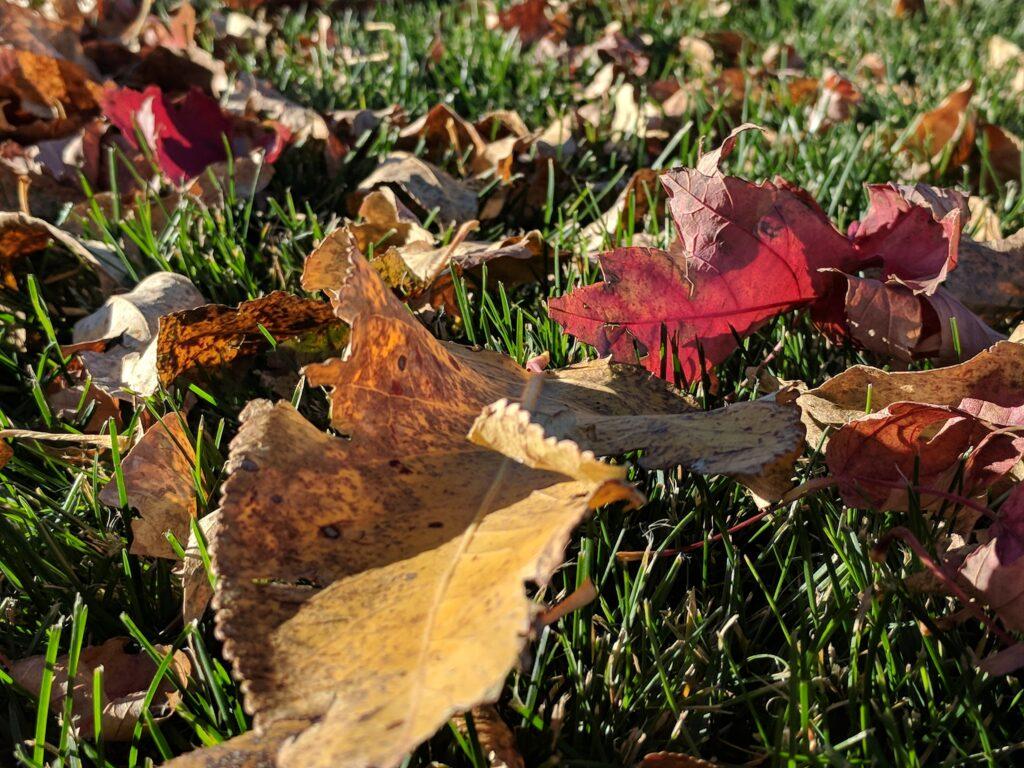
Browns also include dried plant trimmings, straw, corn stalks and such. Paper waste like newspapers and cardboard can be used in moderation, though recycling them is generally more efficient. Pet hair, human hair and lint from your dryer or vacuum cleaner count as browns. Notice the connection? Browns are the carbons… things that used to be alive but are now dead and have dried up.
Greens are the nitrogen sources. They include things like fresh plant trimmings or end-of-season annuals, as long as they’re free of herbicides, diseases and insects.
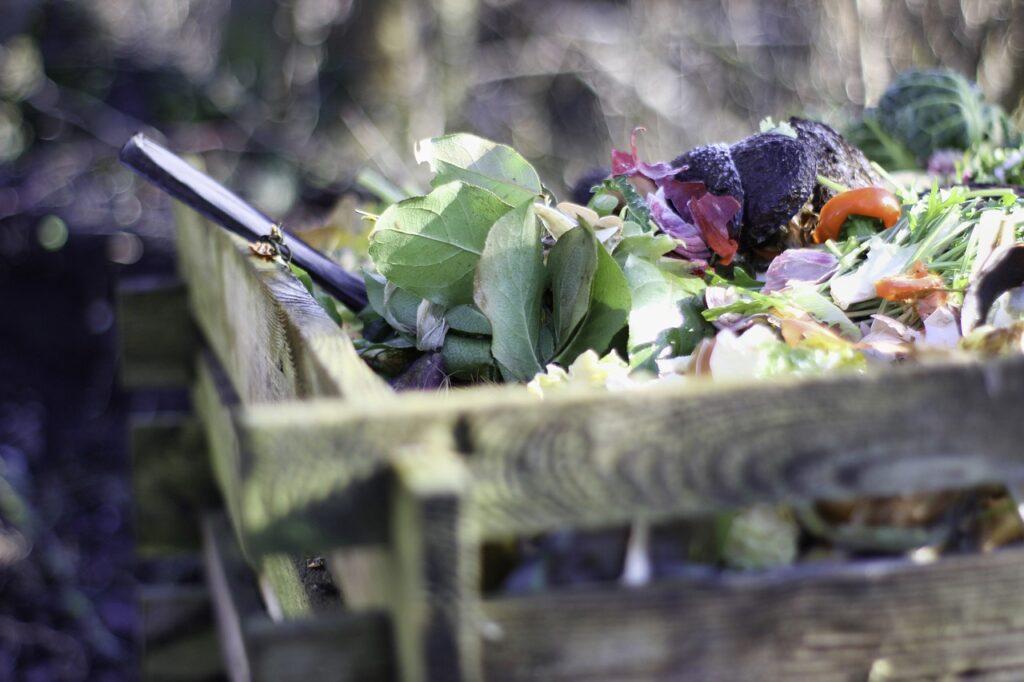
Kitchen scraps (excluding meat, bones and oily foods like cheese), coffee grounds, moldy bread, spoiled fruit or vegetables, stale cereal, peelings and cores also qualify as greens.
The list for both browns and greens can be extensive, but it’s helpful to get a sense of what’s what.
A word about manure
Manure from plant-eating animals like cows, rabbits and chickens can be added to compost, but… If the decomposition temperatures don’t reach well above 121°, diseases like E. coli could survive and potentially contaminate food crops. Newbie composters should wait until they have mastered composting basics before using manure, or simply not use compost from their “learning stage” on food crops. Manure from carnivores like dogs and cats should never be used.
Smaller is better.
To speed the composting process along, both browns and greens will decay much faster if they’re chopped into small pieces of one to two inches.
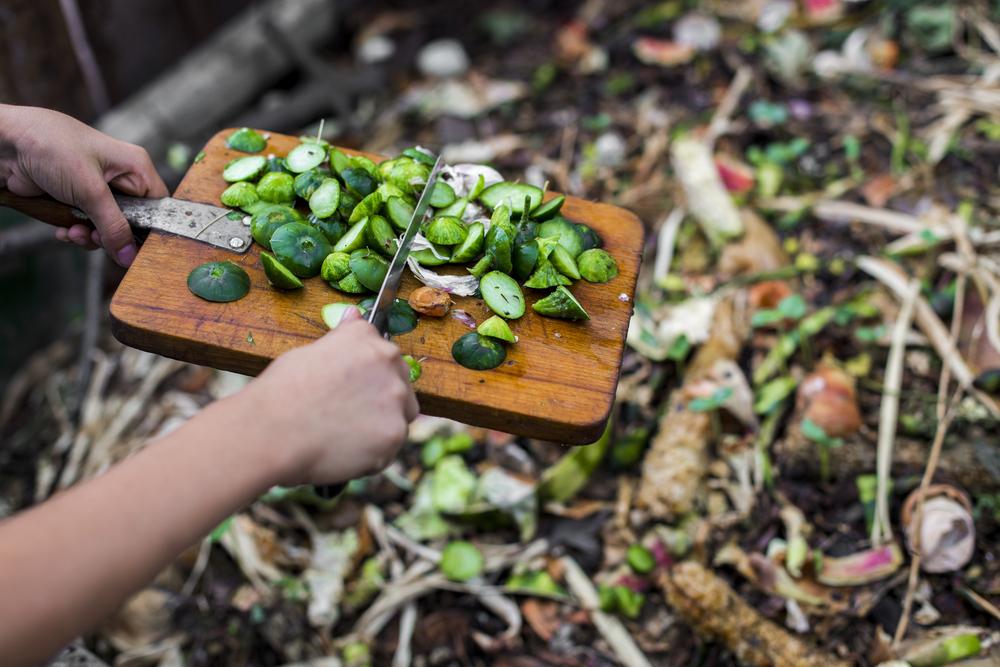
A knife or scissors will work for kitchen scraps. A sharp shovel or a quick pass with a lawn mower will take the browns down to size. Chopping up the material gives bacteria, fungi and other microscopic decomposers lots of open edges to begin their work.
Structure and location
Composting can be done in commercial bins, three-sided enclosures made of fencing, cinderblocks or wire, or any of several other materials. Free-standing piles will work, too, though they’re not always efficient with large quantities of compost.
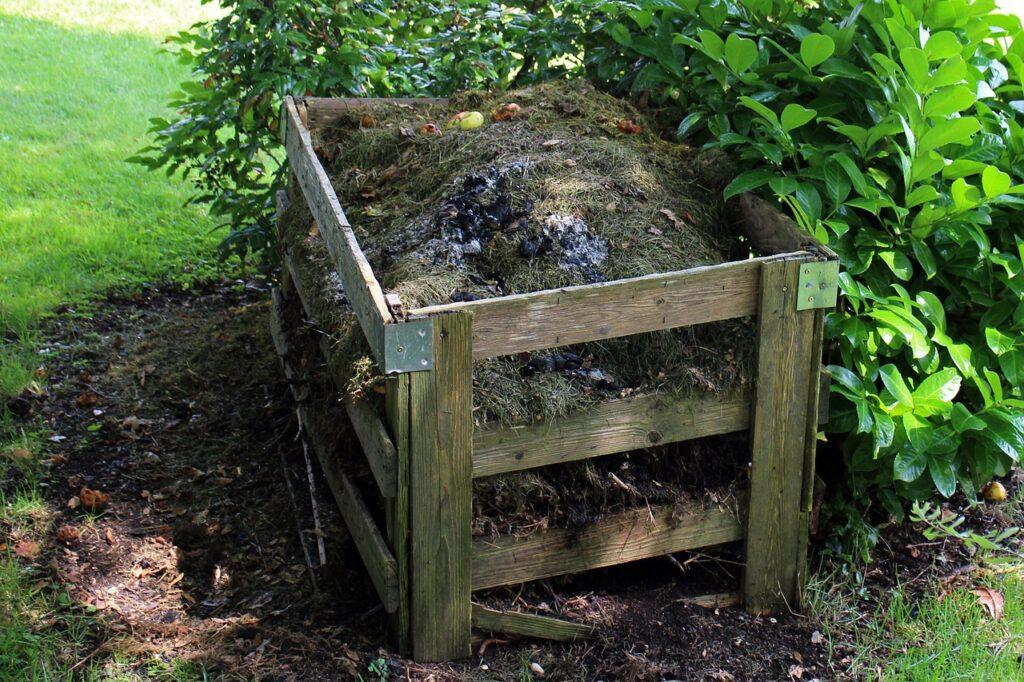
Whenever possible, avoid hot sunny locations where the material may be difficult to keep sufficiently moist. A shady location is ideal. For composting set-ups that don’t include a cover, draping the pile with black plastic or a layer of straw can help maintain the moisture needed for the decomposers to work.
And speaking of moisture…
The long-standing phrase that helps guide composting success is this: “Keep the material moist, like a wrung-out sponge.” An easy way to test for that is to grab a fistful of the compost material and give it a squeeze. It should leave a sheen of moisture on your hand but not be so wet that it’s drippy.
The decomposers that make composting possible need a certain amount of moisture to make the whole process work. Too much moisture and the material will become anaerobic… meaning without oxygen… like when a pile of grass clippings begins to rot. That type of decomposition comes from a whole different set of bacteria, microbes and fungi. They create gasses that stink– not what we want!
Proper, odor-free composting is aerobic, decomposing with oxygen. Those decomposers create compost that smells like clean soil.
And so, the basic “recipe”
Ideally, it’s helpful to stockpile a decent amount of browns and greens before you begin your compost pile. Fall is a great time to start with lots of dried leaves readily available. Once those materials are ready to go, lay four to six inches of browns on the bottom of the pile, right on top of existing soil that’s been loosened up just a bit. Next, layer two to four inches of greens on top of the browns.
It may be helpful to add a shovel full of garden soil to the mix every few layers to inoculate the pile and introduce needed microorganisms. Many of those organisms will already be on the leaves and other materials you’ll be using, but beginning composters may want to add some soil just for insurance.
Spray the mixture evenly with water, then stir it all together with a shovel or pitchfork like you’re making a big tossed salad. Special soil aeration tools are available too, and are worth considering. As you stir, add more water if your browns and greens haven’t reached the “wrung-out sponge” stage.
Keep layering, watering and mixing until you’ve used all the materials you have. Compost heats up best when the pile gets up to four cubic feet, but that can take a while to achieve for folks just starting out who are still gathering their browns and greens. As more material is added to the pile, mix it in well and add more moisture as needed. Don’t forget to cover the top of the pile with plastic or some other protective layer to keep it from getting too dry.
As the pile begins to get larger, the increased mass will begin to “cook.” A compost thermometer inserted into the center of the pile should show that the temperature is beginning to go up fairly quickly. If that’s not happening, the pile is either too wet or to dry. Add more browns and greens as needed, then stir.
If all goes well…
…the temperature inside the pile should steadily begin to approach 140°, maybe even a bit higher. Continue adding material to the pile in the proper brown/green proportions, stir and let sit for several days. In warm weather, this cooking process can go on for weeks, cooling and then heating up again with each aeration.
Be careful to make sure temperatures don’t go above 150°, which can kill the desirable microbes. If that happens, stirring and aerating the pile should cool things back down to more appropriate temperatures. In time, the cooking will slow down and the compost will then begin to cool and cure.
And the waiting begins
During warm months, a vigorously maintained compost pile can produce usable compost within two to three months. Obviously, in colder temperatures, it will take longer. The entire pile might freeze over the winter, but will thaw and begin cooking again in the spring. It’s also possible that a well-built pile will actually release steam if it’s turned on a day when the air is cold. It’s best to leave those piles alone rather than release all that heat and slow down the decomposition.
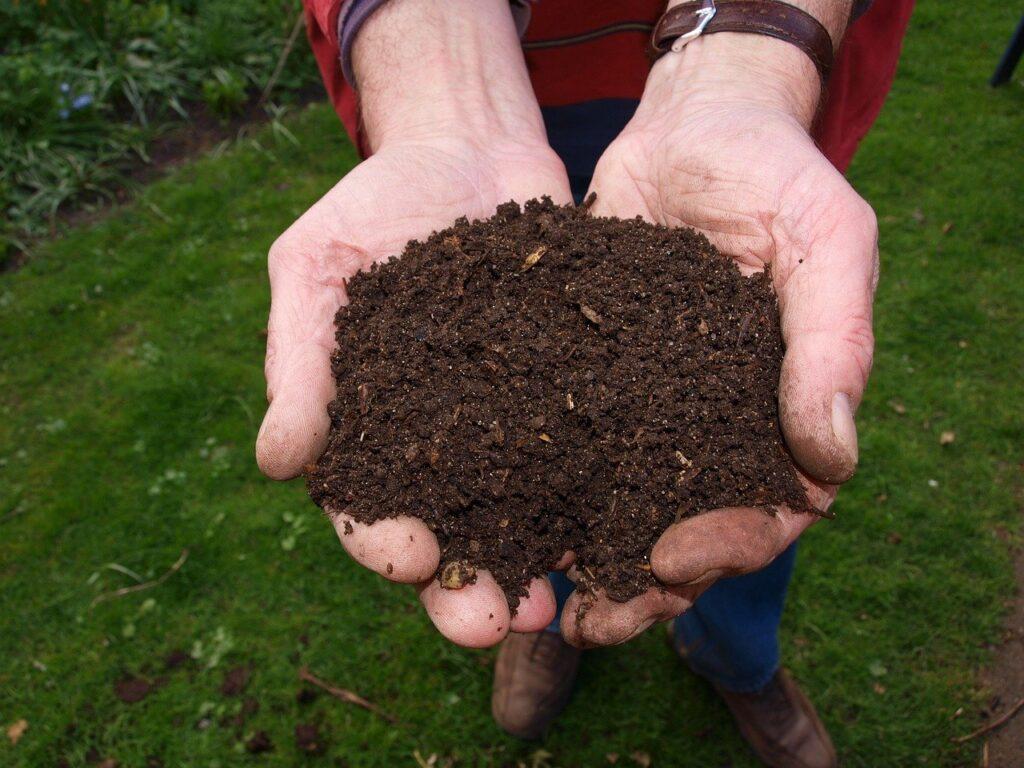
Compost is “finished” when it looks like rich brown crumbly soil and no longer heats up when the pile is stirred. Letting the finished compost sit tight and cure for a few weeks can help the nutrients stabilize and make it even better. I understand that “basic” composting instructions like these may seem like a lot to absorb at first, but know that with just a bit of effort, this whole process really will start to make sense fairly quickly. And if you have any questions or problems starting or maintaining your own compost pile, Tagawa’s Garden Advisors at Dick’s Corner will be glad to help!