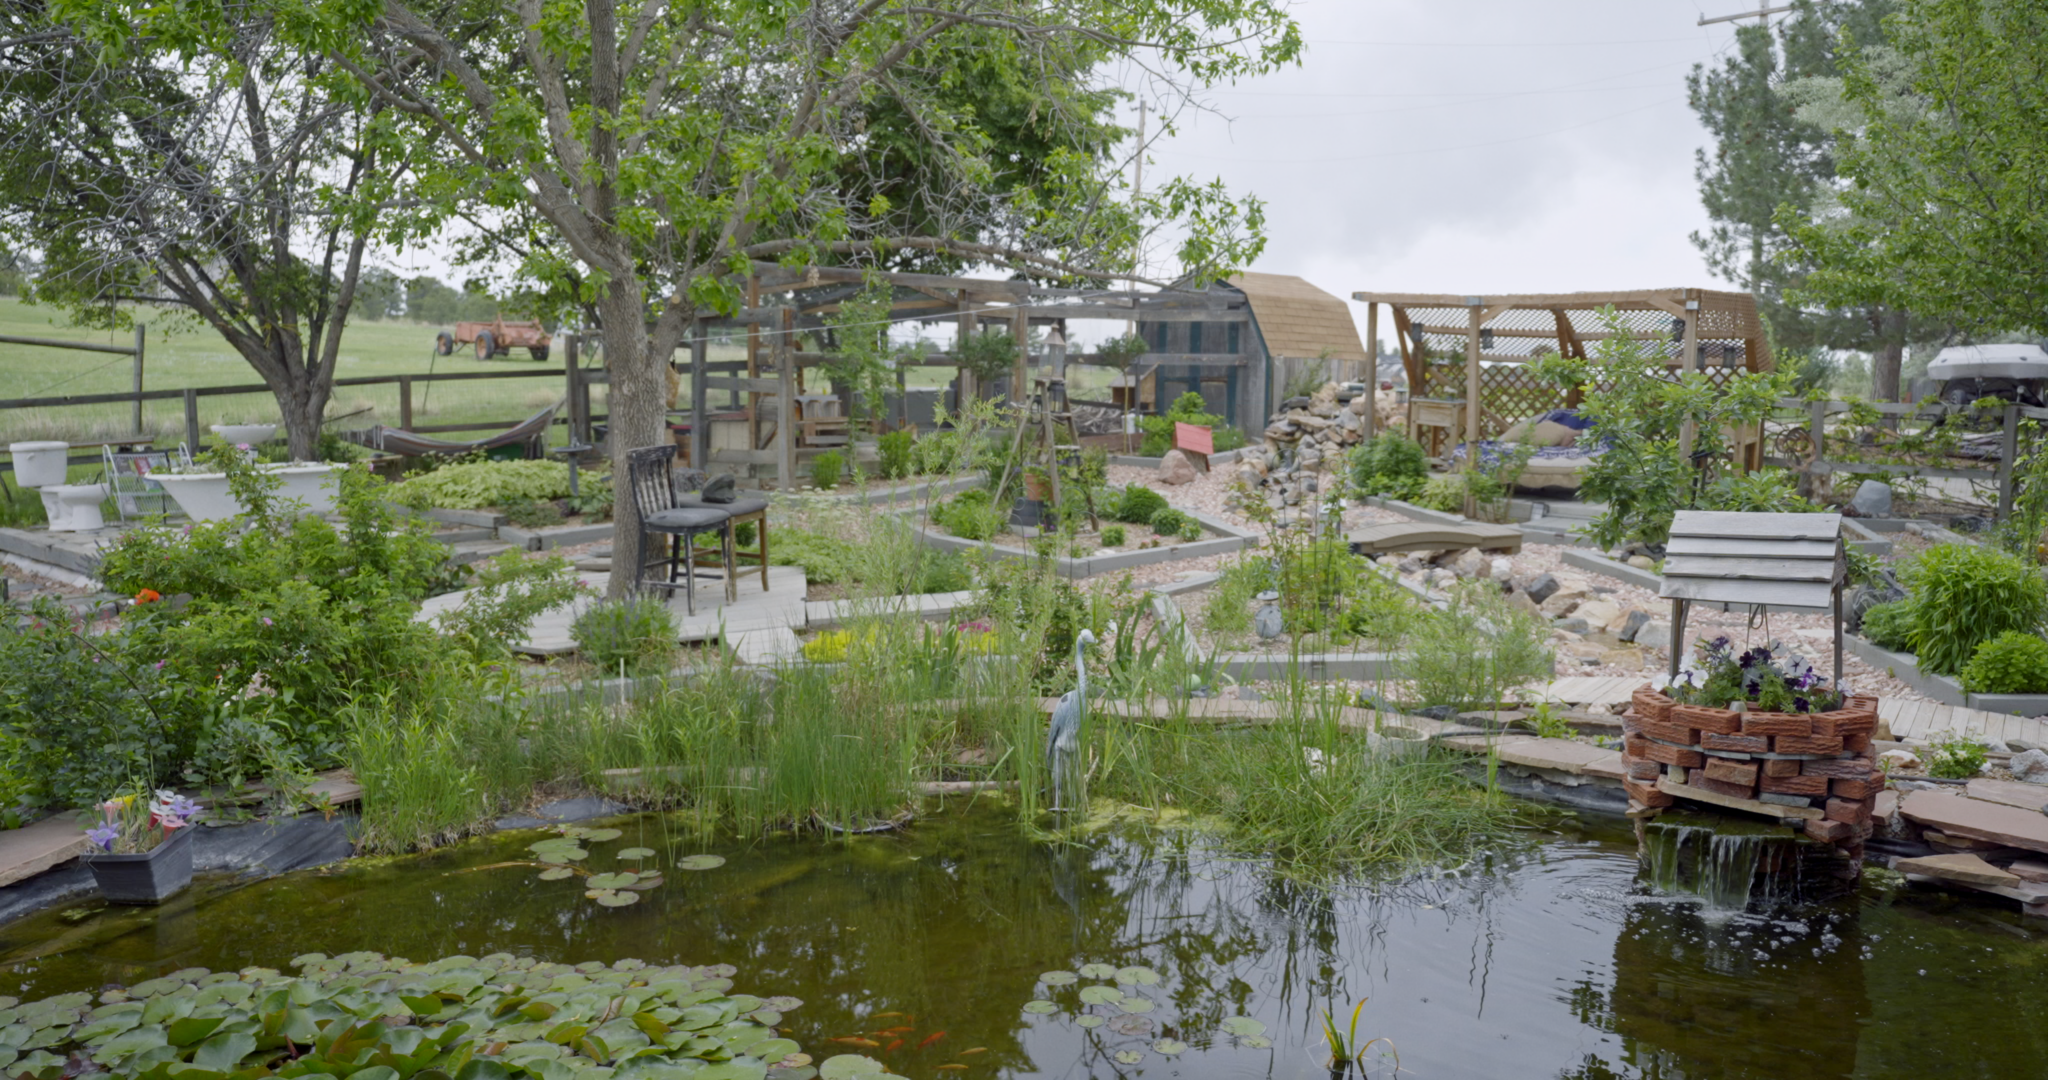
Duplicating Mother Nature is a big part of gardening, especially when it comes to starting seeds. With the conventional indoor method of seed-starting, there are lots of requirements: seed-starting mix, pots or flats where the seeds can grow, a dome or cover to create humidity, plenty of bright light and warmth, adequate space, routine monitoring of moisture… You get the idea.
Many gardeners always have and always will see this as a labor of love, something not to be missed. But there are others who think the whole process is too time-consuming or too complicated or too expensive. For this last group, welcome to a conversation about “winter sowing.”
My buddy Linda from Dick’s Corner is my winter sowing guru
I asked Linda if just maybe this whole approach was too good to be true. Her answer? “Not at all!”
Linda says that winter sowing is quick and easy, and far more effective than you might think. And it’s fun, especially in the dead of winter, January into March, when itchy gardening fingers need something to do!
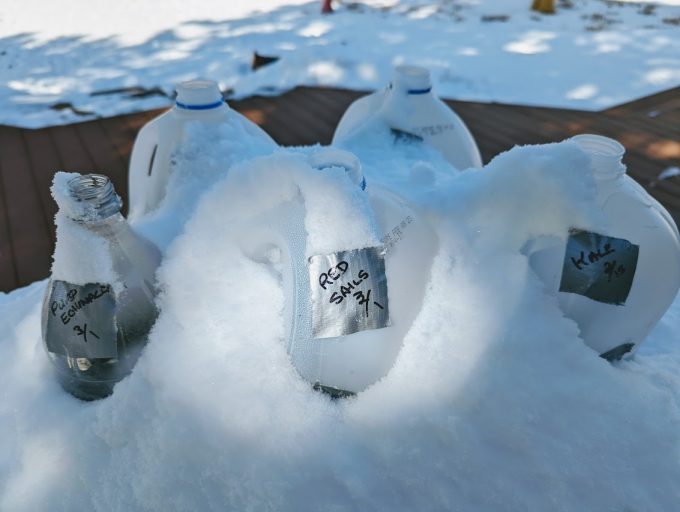
Here are the basic steps she follows, along with my own two cents here and there. Start with a clear or translucent container like a milk or water jug. Other plastic containers can be used, too, but we’ll keep it super simple for now.

Using a box knife or sturdy scissors, cut the jug almost in half, creating a bottom section three- to four inches deep to hold potting soil. When I cut the jugs open, I’m inclined to leave an inch or so of plastic intact just below the handle to serve as a hinge. Linda cuts the jug completely in two, then when she’s finished planting, she slides the top section into the bottom to create a little greenhouse. Don’t forget to make several holes in the bottom of the jug for drainage, which is essential.
What seeds to choose
If you’re winter sowing for the first time, you may want to choose vegetable or flower seeds that are labeled with key words like “hardy,” or “can withstand frost” or “direct sow in early spring.” That means those plants can stand some colder temperatures that would damage heat-loving crops like tomatoes or peppers.

Thoroughly moisten the potting soil so it’s completely damp but not so wet that it drips if you grab a handful and squeeze. Moistening the soil in a large bowl before adding it to the containers can help.
Time to sow!
Follow the directions on the seed packets, and don’t sow the seeds so heavily that the seedlings will be too crowded.

Tuck a plant tag inside the jug with the seed’s variety name and the date it was planted. Close the jug and seal the seams with duct tape. (Or follow Linda’s method of tucking the two sections together, top into bottom.) Mark the outside of the jug with a more visible identification and the date and discard the small plastic lids that came with the jug.
Now find a bright place in your yard where your winter-sown mini-greenhouses will get plenty of light but not overheat on days when the air is cool but the sun is blasting. Linda says avoiding full days of south- or south-west exposure may be the best approach here in Colorado, where the sun can be powerful even on a chilly day.
You could also keep them in more direct sun until April, then move them to partial sun or very bright shade as the sun gets more powerful.
It’s also a good idea to protect the containers from strong winds that could blow them over. A little safeguarding against curious kids and pets is worthwhile, too.
Linda urges gardeners to create a journal during the project and keep it up to date. Start-to-finish pictures on a smartphone can be helpful, too.
And now we wait just a bit
The main concept behind winter sowing is that the seeds will know when to sprout based on increasing day length and consistently warmer temperatures as spring approaches.

In the meantime, being covered with snow now and then isn’t a problem. Snow is actually a very good insulator and can help keep dormant seeds dormant until it’s time to germinate.
In a couple of months, give or take, your tiny gardens should begin to come alive.

Will they need more water? Perhaps, but not necessarily. You can open the jugs on a mild day and see if the soil is drying out, or gently lift the jugs and judge by their weight. If the soil seems dry, several squirts from a spray bottle should be enough. Just be careful not to overwater. Soggy roots are the most common cause when winter-sown mini-greenhouses fail.
Some final thoughts…
As I wrote earlier, the tips given here outline the simplest and most basic way to try your hand at winter sowing. But Linda and I agree that gardening is an adventure, and a little experimentation is always an option!
For example, while the cold-hardy veggies and flowers are the most likely to succeed, I’m a stubborn Swede. In early April, I’m going to try this technique with a heat-loving veggie…. tomatoes, of course! Linda thinks that cold nights and the likelihood of spring snowstorms so common here in mid-spring will bring a quick end to my experiment. But other bloggers gardening in wintery climates write about sowing warm-season crops this way, so I think I’ll give it a try!! All I have to lose is a little time and effort (but not much…), and a few seeds, right?
I’ll let you know how it goes!!
The winter sowing conversation doesn’t have to end here!
Never hesitate to bring your gardening questions to the Garden Advisors at Tagawa Gardens. That’s Linda’s home away from home. She and our other wonderful staff there will be happy to help!