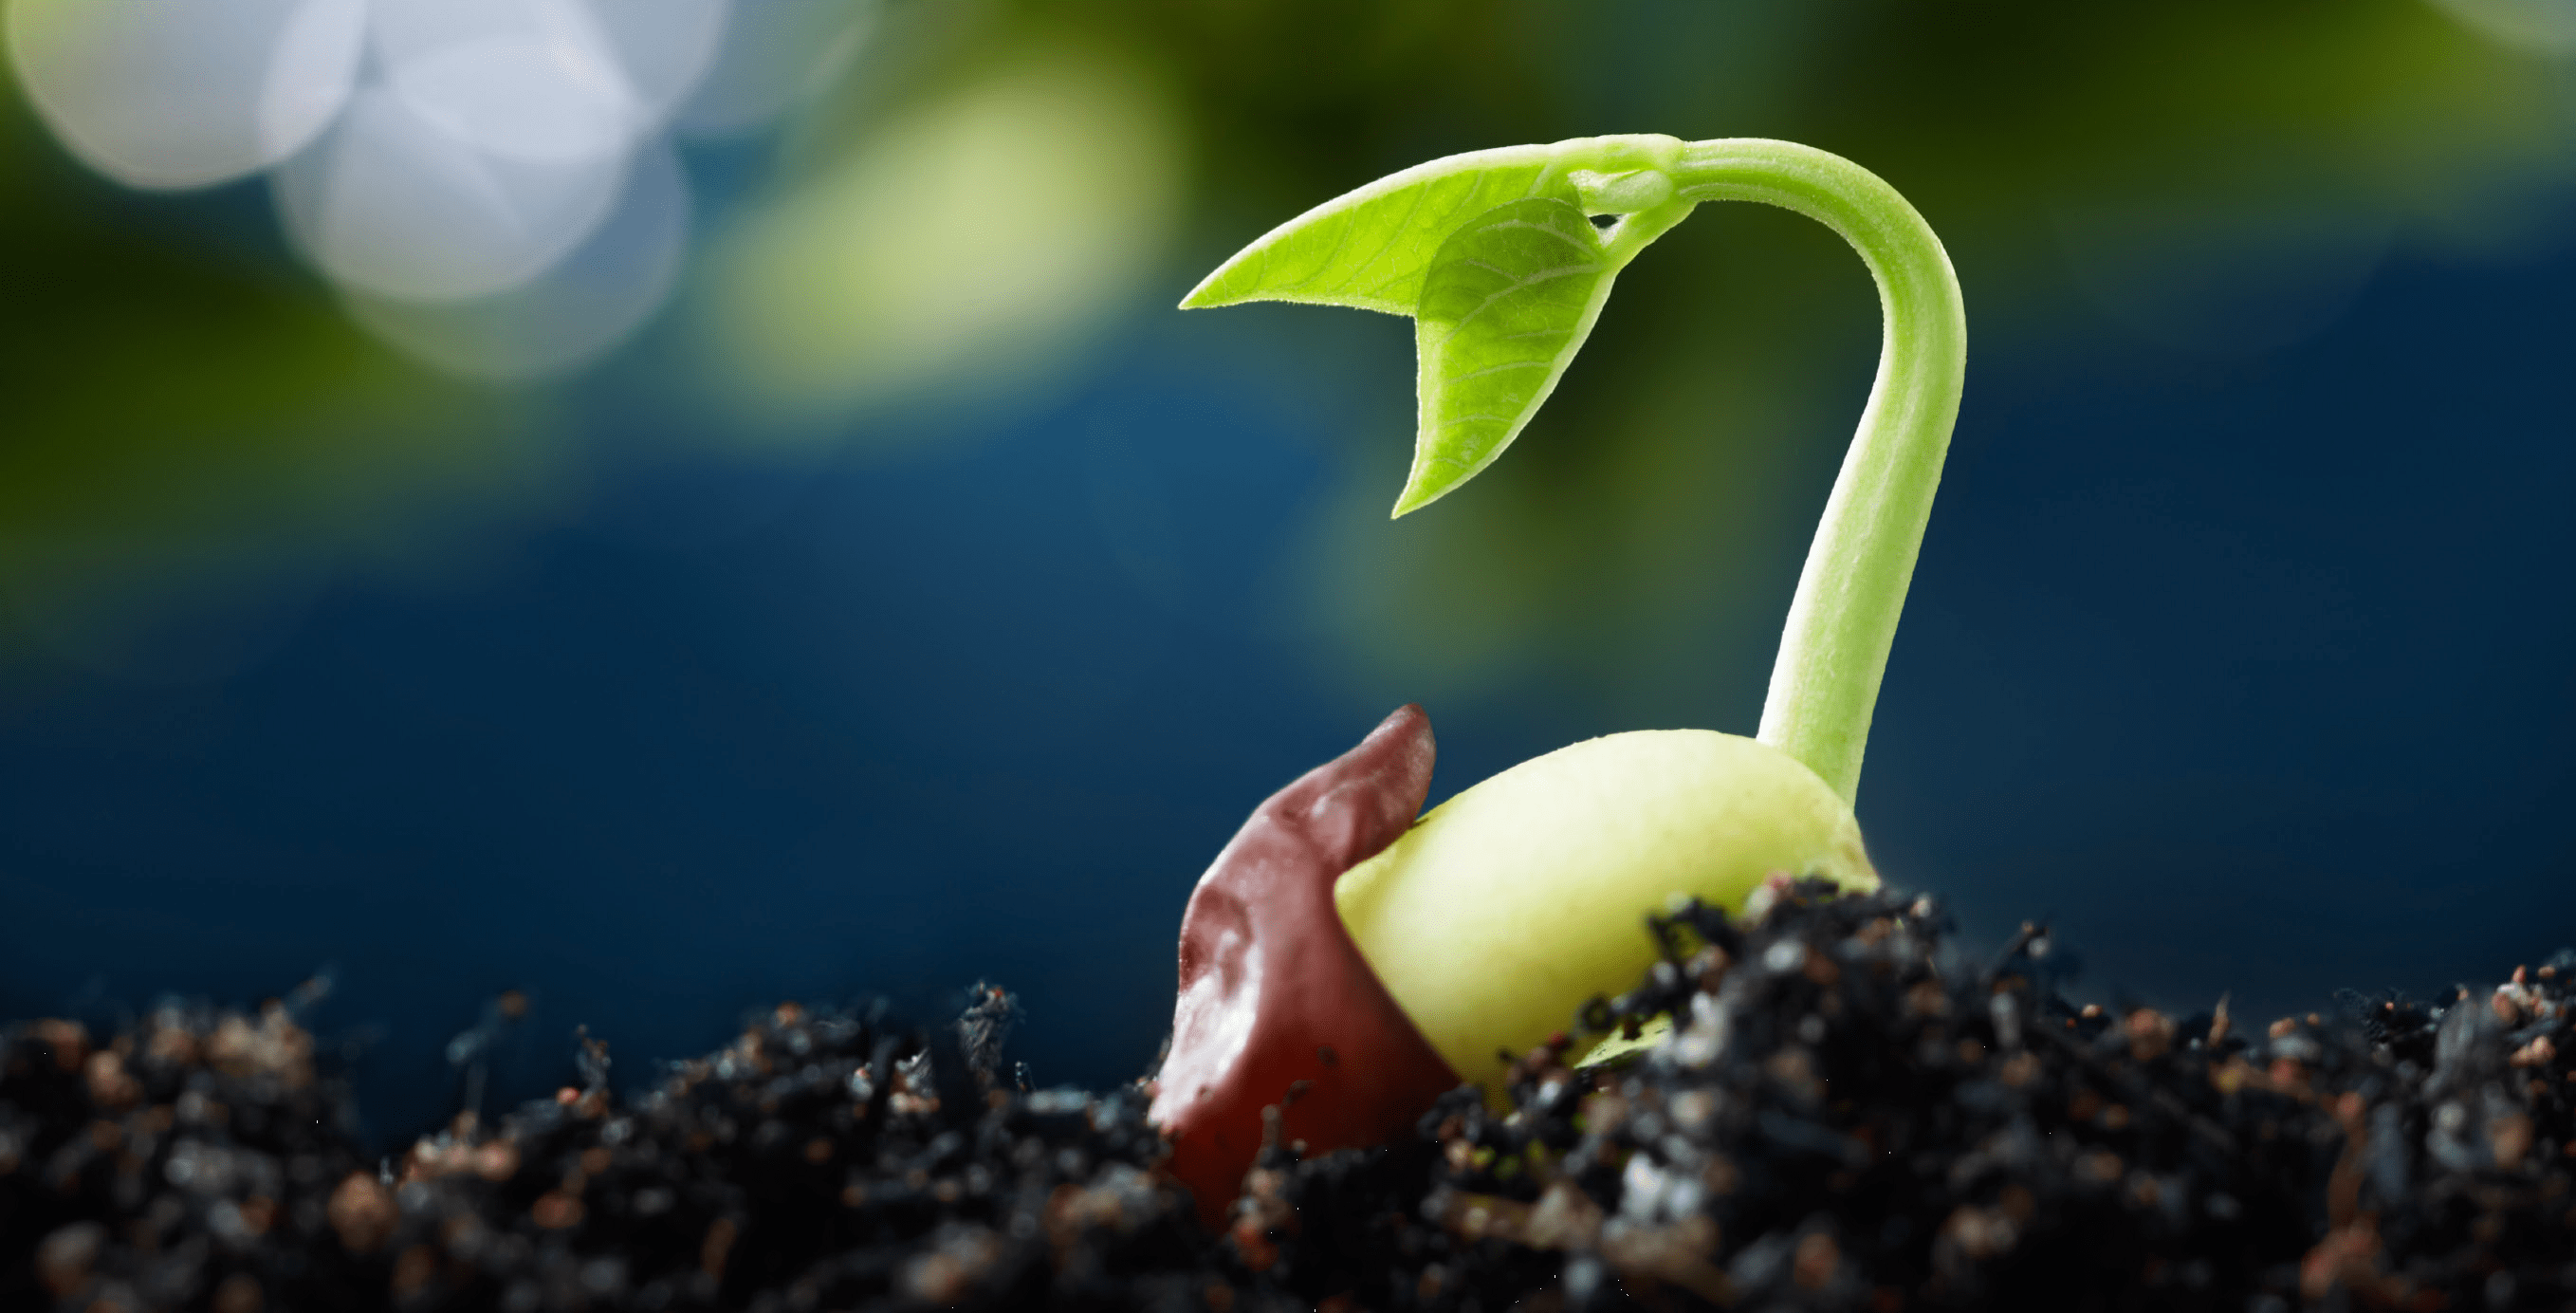
Seeds are magical things, no two ways about it. For example, there’s something special about biting into a tomato, warmed by the sun and grown on a plant that you started from seed. Or gathering a bouquet of daisies that look just like the flowers shown on the packet of seeds you sowed indoors a couple of months earlier.
Now is the time to get a jump on the seed-starting bandwagon!
Gardening in general is hugely popular these days, and starting plants from seed indoors is definitely part of that. There are plenty of reasons to try it yourself. For example, even though Tagawa offers dozens of different varieties of tomatoes, (well over 100), maybe you’d like the satisfaction of starting some plants yourself.
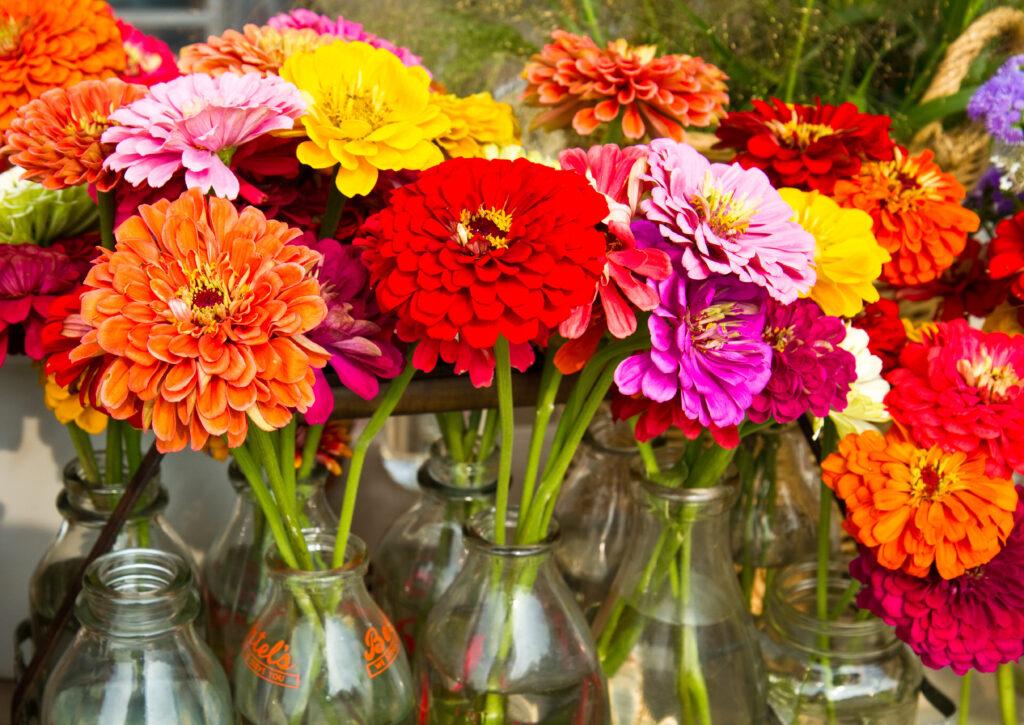
Or perhaps you want so many zinnias for your cutting garden that starting them ahead of the season just makes $$ sense.
There are some basic do’s and don’ts that will help you succeed with starting your own seedlings indoors. Let’s take a look at the most important ones.
Before we begin, let’s talk about light
Good, bright light is essential for growing sturdy seedlings that will mature into strong, healthy plants. When it comes to nurturing your seedlings, it’s easy to overestimate the quality of light available from the proverbial “sunny window.” There’s also the risk that the young plants growing next to a window could get chilled on cold nights.
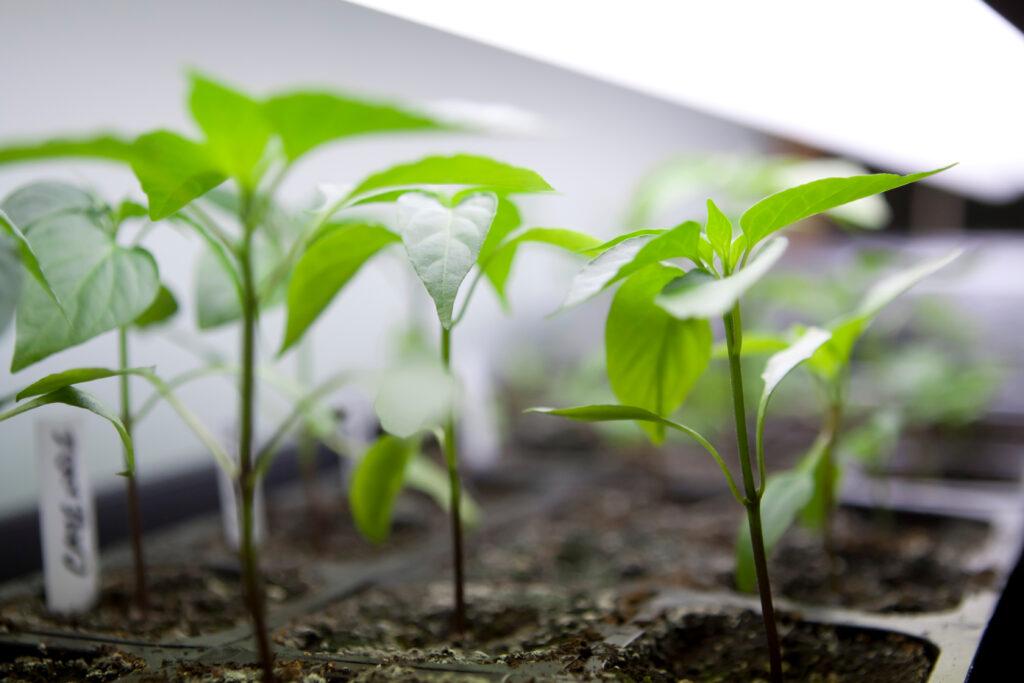
To be their healthiest, seedlings will need 14 to 16 hours of bright light in a consistently warm location. If possible, a simple light fixture set up with full spectrum bulbs designed for growing plants can be a real game-changer. Tagawa has several lighting options that our staff would be happy to show you.
Now let’s get started… with clean fresh everything!
Considering that a new packet of seed costs only a few dollars, we’ll begin there. The germination rate of seed goes down fairly quickly with time, so why not buy fresh new seed to give your plants the best start possible? Even if you use only part of the packet, you can always share the rest with friends!
Be sure to sow your seeds in seed-starting mix, not potting soil, and never soil from your garden.
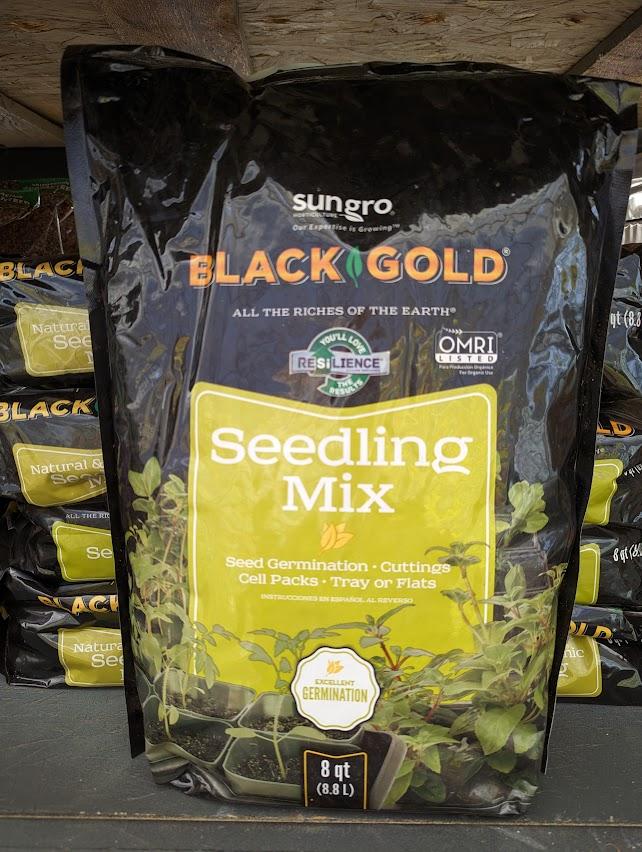
Seed-starting mix is sterile and will significantly help your seedlings avoid a fungal disease called “damping off” that can kill them in a heartbeat if conditions aren’t right.
Damping off can occur when warm moist air becomes stagnant… perfect conditions for the disease spores to germinate and collapse a seedling’s delicate stem. A small fan on a low setting that keeps the air surrounding your seedlings moving even slightly goes a long way toward preventing an infection.
As for the best containers for your seedling crop, there are lots of options. Tagawa carries a wide assortment, including various sizes of cell packs and small pots or non-plastic alternatives, as you’ll see in our seed-starting display.
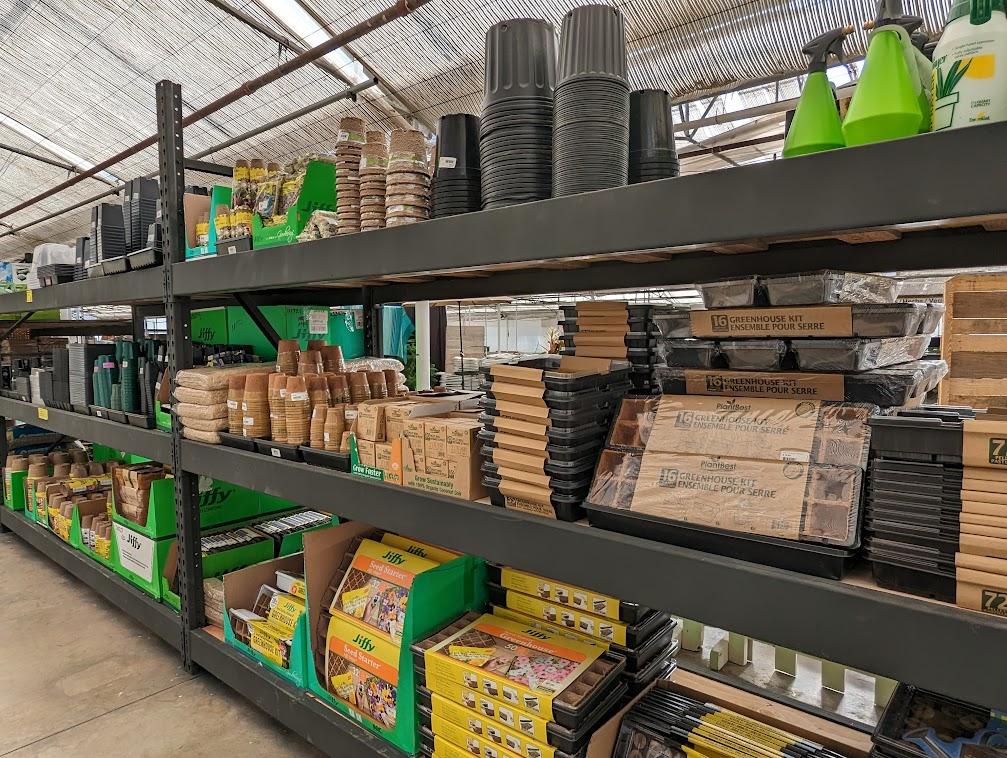
You can also use something you’ve recycled like yogurt tubs, as long as they’re clean and have drainage holes.
Let the seed packets be your guide
The packets your seeds come in can be a wealth of information, like which seeds can be started indoors, when to plant the seeds and specifics on proper seed depth.
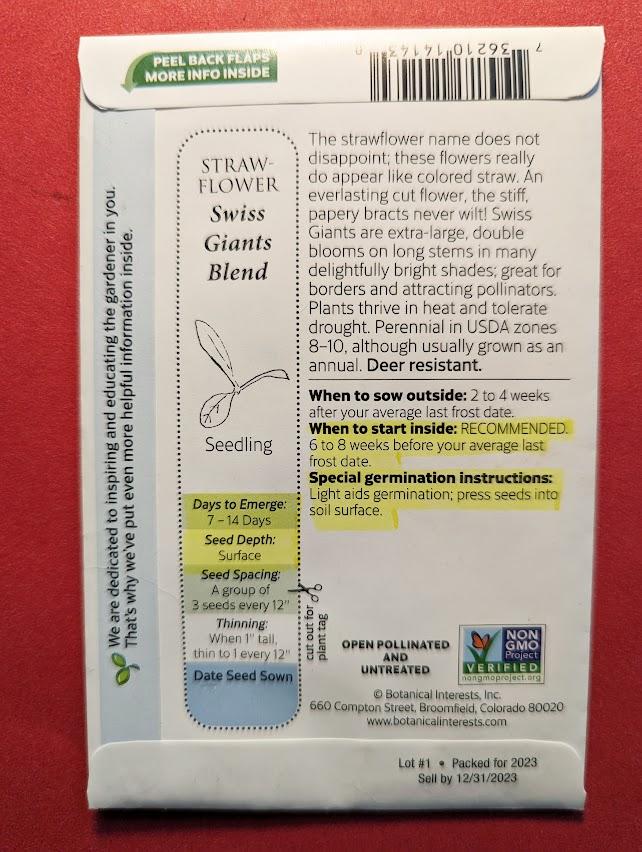
Some seed packages also include a tiny picture of what the seedling will look like when it emerges. A few types of seeds need special treatment such as a cold period to “crack” the seed and help it germinate or exposure to light. All of these details should be listed on the packet to help your seedling project succeed.
Moist, medium, or dry?
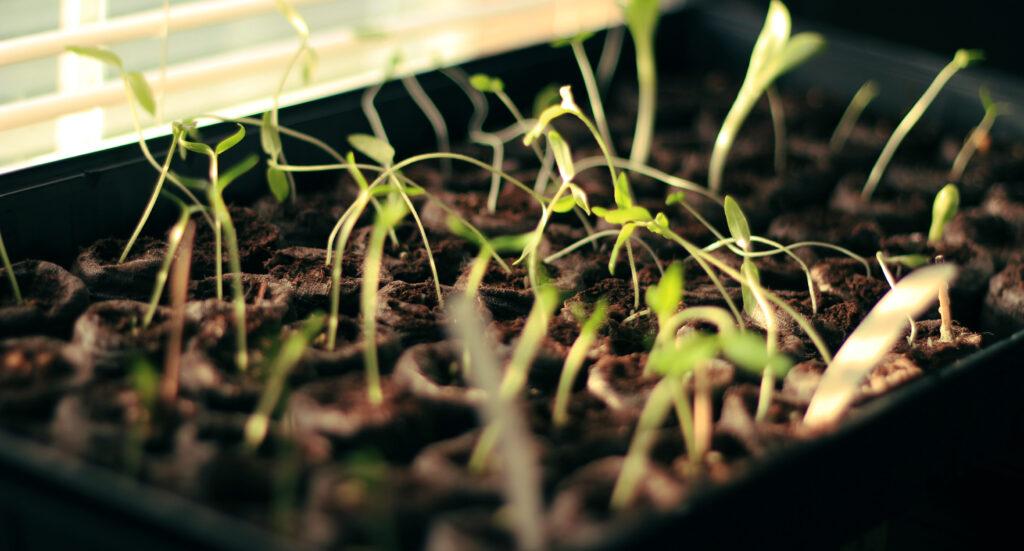
You’ll find that the seed-starting medium mentioned above is very light and fluffy, not at all like soil. Go ahead and fill your seedling containers right to the top. The mix will settle once it’s been watered and will make a very welcoming “nursery” for your seeds.
Some gardeners prefer to put seeds into the mix while it’s dry and then water them in. I like to completely moisten the mix with a gentle overhead spray (which may need to be repeated until it soaks in) then gently tuck the seeds into the mix using the blunt tip of a wooden skewer. I find that sowing the seeds and then watering the mix can dislodge especially tiny seeds.
Don’t trust your memory!
Before you plant a single seed, make good labels that show what variety of seed you’ve planted and the date it was sown. Going to the trouble of starting your own seeds only to forget what’s what once they come up is a major frustration!
I’ve found it helpful to actually put the labels into my containers before I add the seed. It keeps me honest, and is so much easier than scrambling for a label and pencil once the seeds have been sown.
Add light and warmth from the get-go
Give your seedling containers bright light as soon as the seed is sown. Don’t wait until the seeds germinate and the tiny plants emerge. You might be surprised how quickly the young plants can get “leggy” and start reaching for light before you realize they’re actually up and growing!
Most seedlings will greatly benefit from temporary “bottom heat” provided by a heat mat. The mats come in different sizes to accommodate the number of seeds you’ve started. The mats keep the seed mix at a constant temperature… usually in the mid-70’s.
A humidity dome or layer of plastic wrap over the seedlings also helps to maintain moisture and warmth. Both the dome or plastic wrap and the bottom heat should be removed as soon as the first seedling emerges. That’s the perfect time to set up that small fan I mentioned above.
A few more troubleshooting tips
Even gentle overhead watering can flatten tender seedlings. To keep the seedling mix moist (but never soggy), water the seedlings from the bottom, let the medium wick up needed moisture for several minutes, then pour out any excess water.
Once the seedlings begin to grow, make sure they consistently get plenty of light. The tiny plants shoot up quickly and will get thin and leggy if they need more light than they’re receiving.
When it’s time to put your seedlings out into garden beds or pots, always acclimate them for at least a week before planting them into their new home. This process is called “hardening off.” It simply means that your seedlings (actually any plants that have been grown in sheltered indoor conditions) need time to adjust to their new world outside. Lower humidity, significant temperature fluctuations, windy conditions and sunshine will all take some getting used to.
Expose the seedlings to their new environment gradually, setting them out in a very sheltered location for the first day or two, perhaps bringing them indoors at night. Day by day, give them a bit more sun, leave them outside overnight, exposure them to more wind and dry Colorado air. Acclimating tender plants properly can make all the difference in how well those plants do in the long run.
Tagawa is here to help!
Never hesitate to ask the friendly staff at Tagawa for advice with your seedling project. Our goal is to help you succeed! Best of luck!