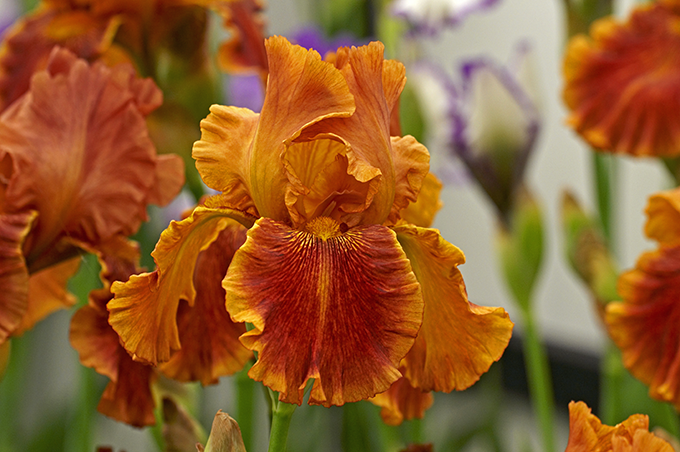
I suppose there are people out there who don’t like bearded iris. I just don’t happen to know any of them. If I did, I’ll bet I could change their minds with just a little bit of show and tell.
Iris are some of the most beautiful and yet hard-working perennials we can grow in Colorado. They ask so little: a full day of sun and well-drained soil. In return, they pay us back with sweetly-scented wonderfully exotic flowers in early summer in just about every color we could want.
Plants or rhizomes?
You can start your iris from plants already up and growing in pots or from “rhizomes,” pudgy little structures that look a bit like a gnarled thumb.
When the iris leaves and rhizomes start to look like the bed pictured above, it’s time to come to the plants’ rescue.
Step #1: Dig, separate and trim
Carefully dig up a large clump of iris. One by one, separate the individual plants.
Remove the older rhizomes, but save the rhizome that’s attached to the current year’s growth. Then cut back the leaves and roots.
You should be left with frim, healthy rhizomes, shortened leaves and slightly trimmed roots.
Step #2: Make a new bed or refresh the old one
Whether you want to use the same iris bed or create a new one, be sure it’s in a sunny location. Loosen the soil and scratch in a few handfuls of compost. Then plant the rhizomes so they’re just barely showing above the firmed soil.
Note: each season, iris rhizomes will add a new segment from the end of the rhizome that sent up this year’s growth. Make sure you’re planting the iris so it will grow away from other nearby plants or obstacles such as fences or sidewalks.
Step #3: Water and walk away
Give your newly-planted iris rhizomes a good drink to settle the soil. Mulch isn’t necessary, but a thin layer is okay. Just remember that iris won’t tolerate moist soil. These are tough, drought-tolerant plants once the roots take hold.
Then walk away, and wait for the show next season. It will be so worth the modest time and effort you put in now!
