It’s the middle of summer. And! It’s! Hot! So how about a made-in-the-shade gardening project you can create now, and (with adequate light) bring indoors this winter? I’ve included how-to pictures… lots of them! Why not join me for a step-by-step guide on how to make a beautiful succulent dish garden!
Our host is Shane, Tagawa’s Houseplant Supervisor
Shane loves succulents, and in recent months has dramatically expanded Tagawa’s succulent inventory and displays. Our guests are noticing and giving lots of positive feedback! So I thought it would be fun to ask him for a mid-summer project, out of the heat, that can be beautiful outdoors now and again well into winter indoors.

Succulents are amazing plants and can adapt to a fair bit of neglect, but Shane is quick to point out that they do have a few basic demands like extremely well-draining soil and appropriate light. Shane’s preference is a combination of half-and-half succulent soil and a very gritty cactus mix.
Choosing the container and the plants
The succulents shown above were chosen from both Tagawa’s Houseplants and Perennials Departments. Shane has selected ten plants in all to go into a 12″ diameter bowl. Note: Any container used for succulents or other plants must have at least one good-sized drainage hole! No exceptions! All of the plants Shane is using have been watered well the day before.
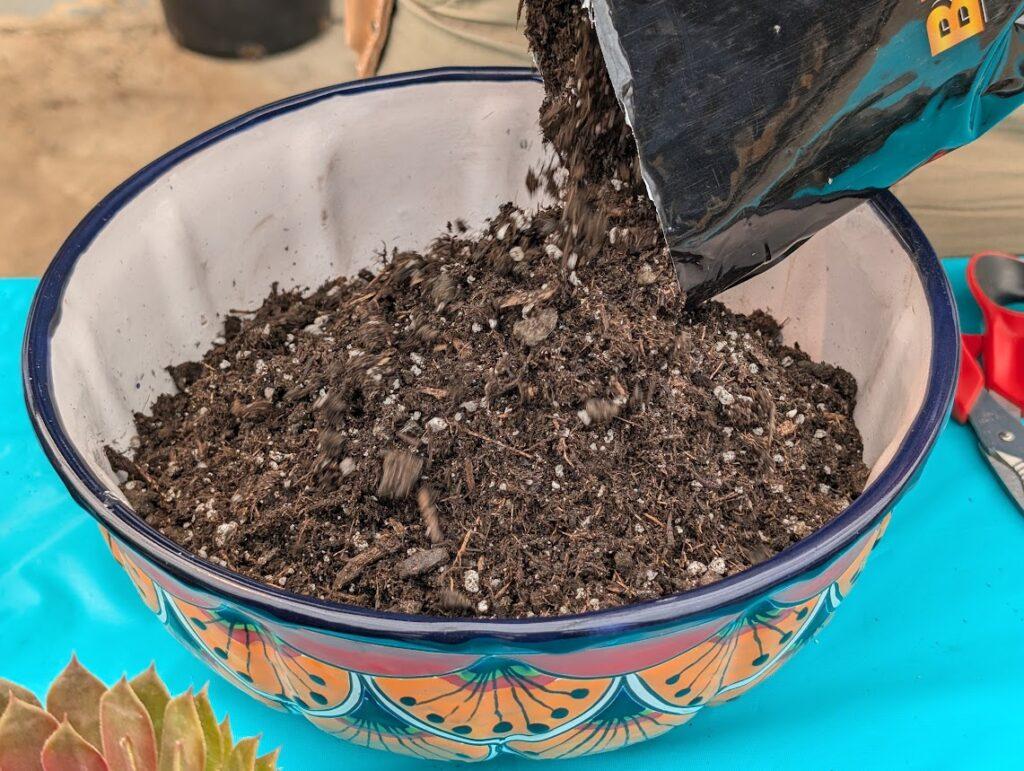
Shane starts by filling the container to within an inch or two below the rim of the pot. He gently compacts that very loose soil to give the succulents “better traction” as their roots take hold. He’ll be adding more soil as he plants.
Shane says one big mistake people make when creating a succulent dish garden is leaving the finished soil level flat. He says creating a two- to three-inch mound as more plants are added makes the final design much more appealing.
Tickle… tickle… tickle…
The soil that succulents are shipped in from the growers is routinely heavier than the soil the plants should be grown in for the long term. That heavier soil helps protect the plants in transit.

Shane makes a point to gently tickle away as much of that heavier soil as possible before he starts planting. Patiently removing that original soil will help the roots, not hurt them.
Time to “dig“
Shane uses his finger to create tiny depressions in the soil, then gently tucks the plants into place. He covers the remaining exposed roots with more soil.

Notice how he’s setting the smaller plants so they lean over the edge of the pot, softening the appearance of the container and making the finished garden look more natural.
Step by step, the garden begins to take shape.
In a matter of minutes, Shane’s design comes to life, and the beauty of combining succulents with different textures, colors, and forms starts to shine.
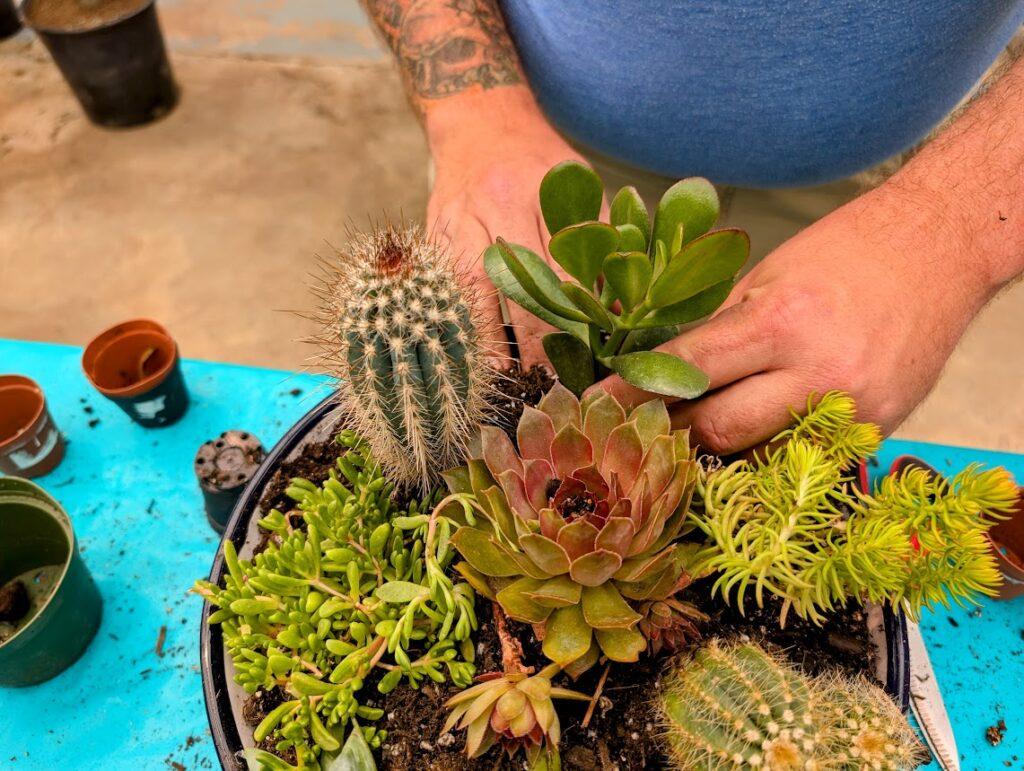
Not all succulents will make good neighbors. For example, cacti need less water than the softer-leafed plants. But Shane says watering those somewhat thirstier succulents and not directly watering the cacti should keep all of the plants’ roots happy.
The last step: Top dressing!
With all of the plants in place, the finishing touch is to apply a shallow layer of top dressing… small, pretty rocks that will cover any exposed soil. The top dressing helps to stabilize both the soil and the roots.
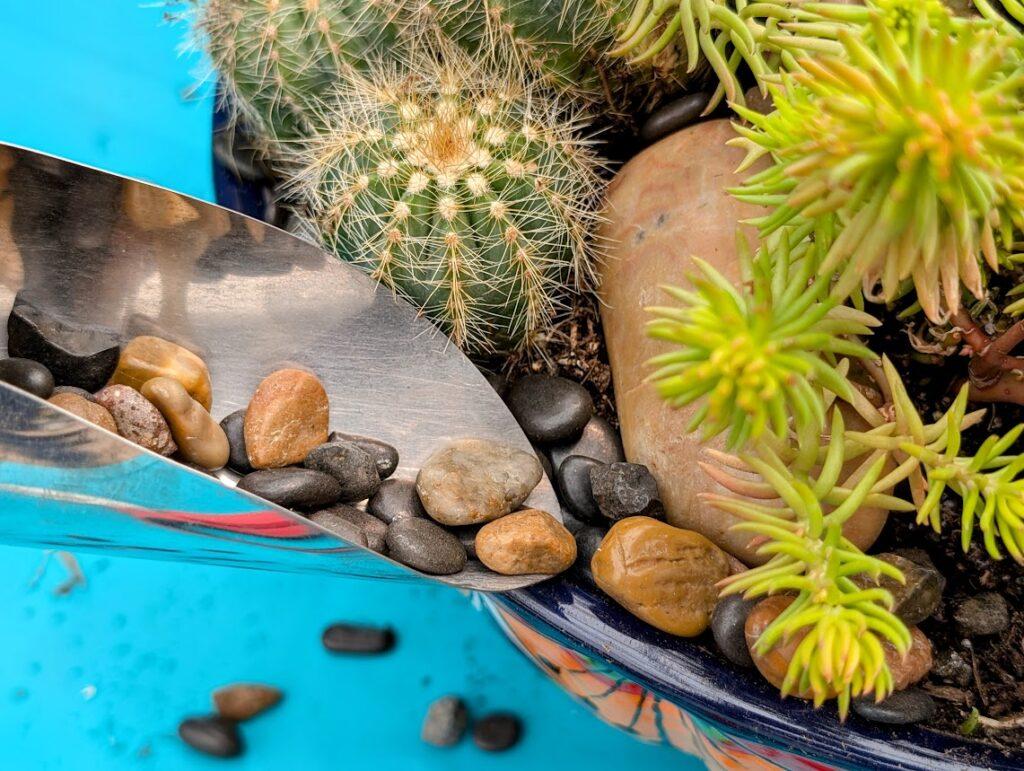
Do you see the larger white rock Shane sets into the garden before he top dresses? He’s included a few of those mainly to give the overall design a more natural look. He then drops some of the smaller rocks on top of them, just as Mother Nature would do in the wild. Be sure to tuck a bit of top dressing under the “skirts” of the plants, right up next to where the succulents come out of the soil.
A quick clean-up with a very soft brush and the succulent garden is finished!
Shane makes it look easy…
…but creating a beautiful succulent dish garden really is easy! Notice how mounding the soil by a few inches as more plants are added also helps to recreate such an appealing and natural look.
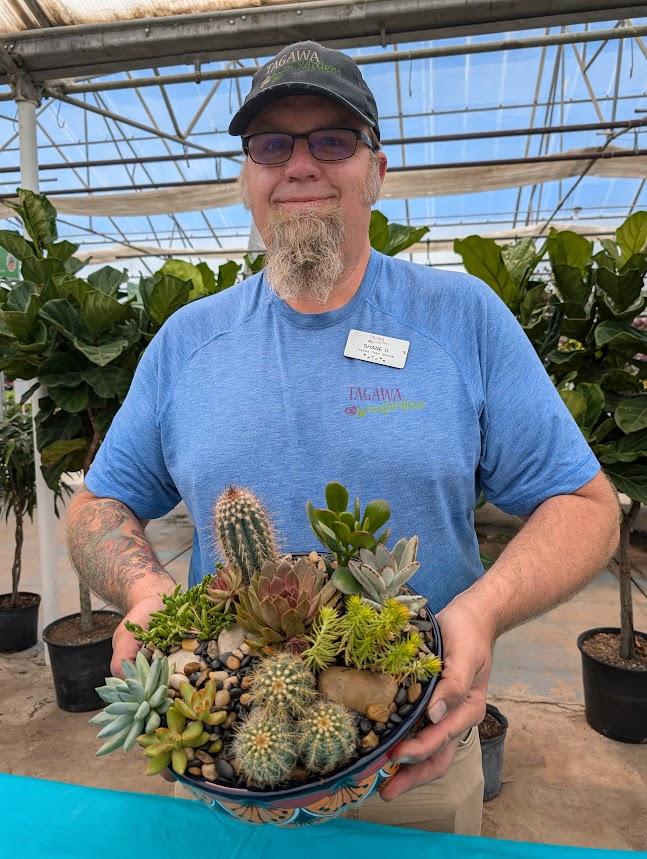
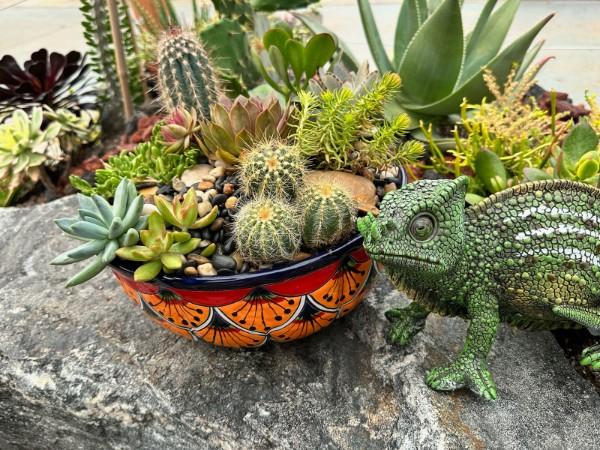
As I write, and as shown at the top of this blog, Shane’s new succulent dish garden is on display just inside a beautiful and much larger succulent garden he’s created in Tagawa’s Houseplant Department. Both are definitely worth a look!
Caring for your garden: Outdoors vs. indoors
Shane says this garden can thrive in warm weather outdoors with several hours of morning sun or dappled shade. Remember to slowly adapt or “harden off” the finished garden to help the plants adjust to being outside, just as you would annuals that came from inside our greenhouse. And just because some of them look like they should be right at home in a desert, odds are the plants could easily sunburn if they’re ever given too much direct, hot summer sun.
While the garden is growing outside, water the plants when a moisture meter shows the soil is completely dry. You could also use a wooden skewer inserted into the soil and left for several minutes. If the wood shows any sign that it’s absorbed any moisture, wait a bit until the soil has finished drying out. Your garden may need water every week… or longer… depending on the weather. Lastly, you can poke your finger into the container’s drainage hole to see if the soil feels at all wet.
Indoors, the garden will need water far less often. Again, just check the soil using any of the methods listed above. Succulents are always happier somewhat underwatered than overwatered. Especially in the beginning, when you’re starting to understand your garden’s needs, it can be helpful to wait for some of the leaves to just begin to pucker a bit before a thorough watering is needed.
In the winter indoors, it’s important to give your succulents enough light, otherwise they could get stretched out and “leggy” by the time warmer weather returns. Shane recommends at least half a day of direct winter sun, as long as your plants aren’t showing any signs of sunburn. Giving your garden the gift of a tabletop grow light can also keep it especially happy and healthy. Lastly, be sure to protect your indoor garden from heat vents or doors that let in blasts of cold air.
Good luck!!
