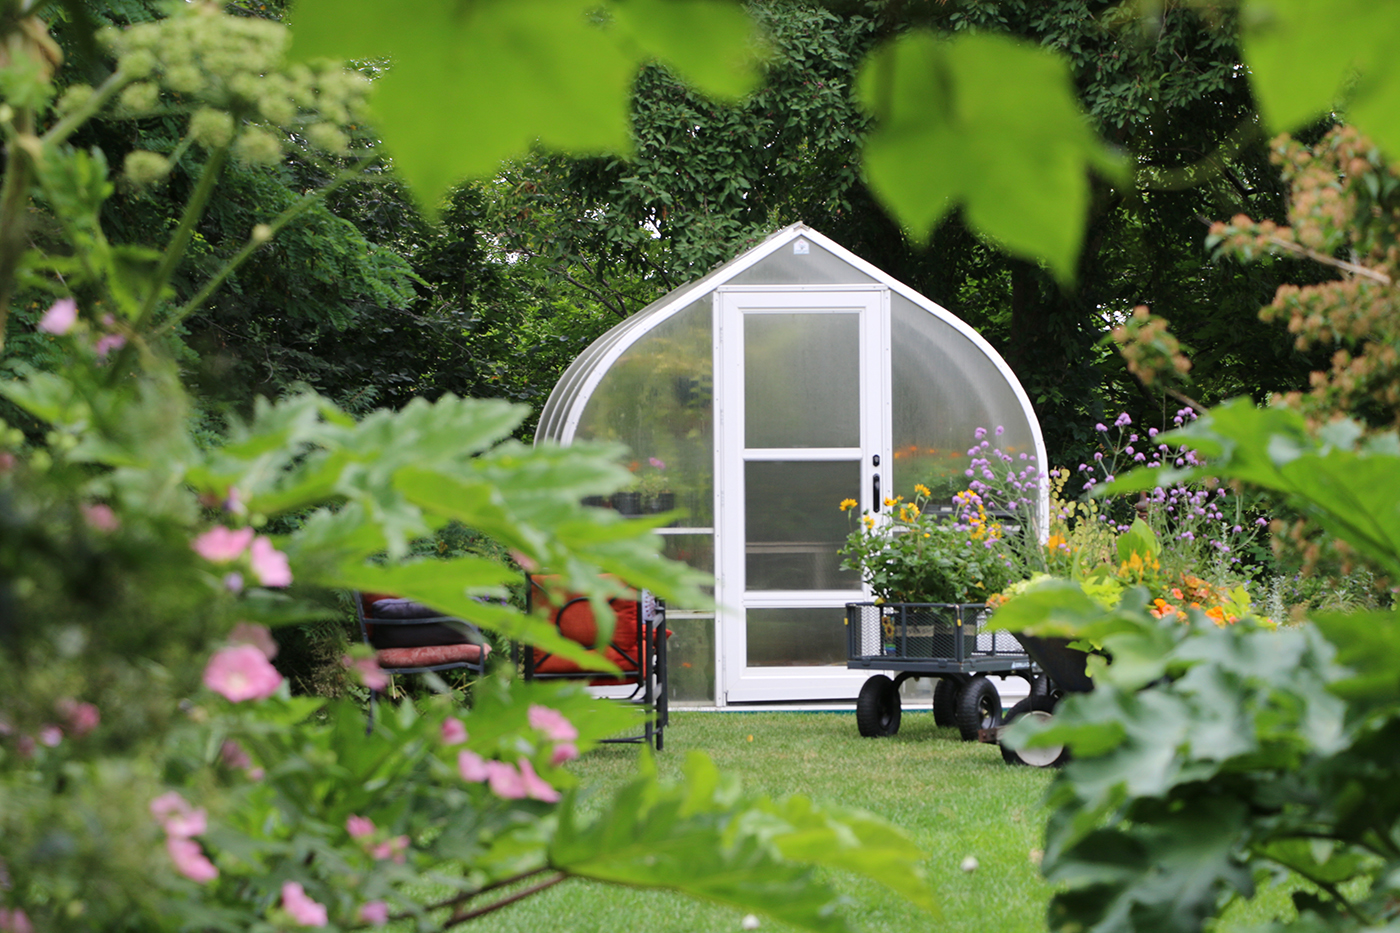
We ask a lot of our summer annuals: instant gratification, non-stop blooms, pest-free and disease-free foliage and flowers, vigorous growth. You get the idea.
Thankfully, some basic TLC can make a huge difference between summer annuals that merely survive and those that thrive. Let’s walk through five of the most important steps you can take to keep your plants looking their best.
Step #1: A little discipline goes a long way
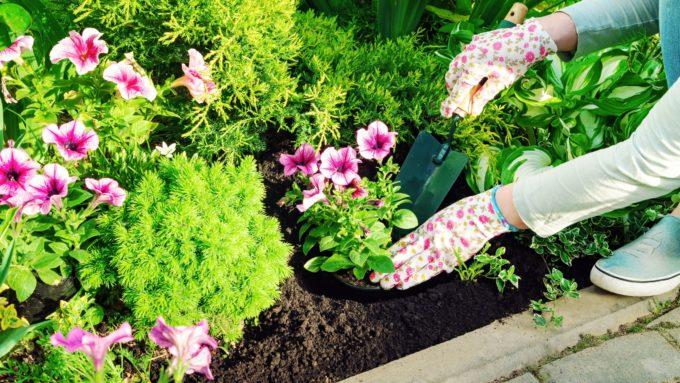
Whether you’re buying your annuals from an independent garden center like Tagawa Gardens, where they’ve had excellent and ongoing care, or starting them from seeds at home, they’ll need a little time to adjust to their new world outdoors.
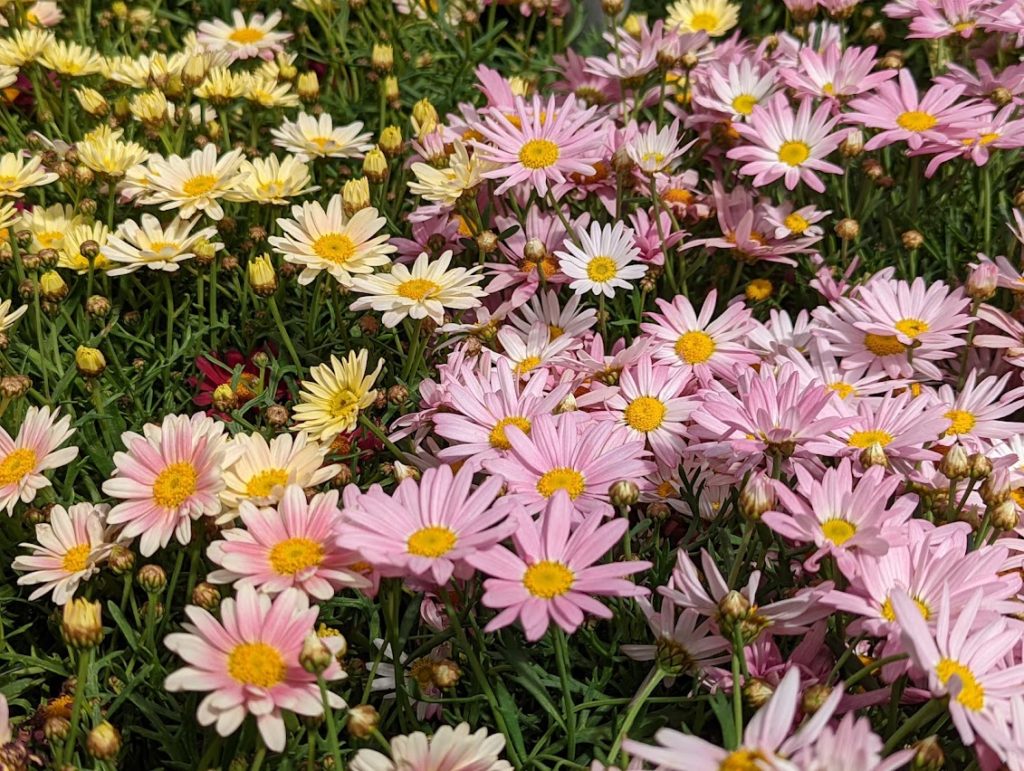
With annuals that have been grown indoors, take five to seven days to gradually but steadily ease them into the real-world conditions of their new home. Day by day, increase their exposure to the conditions in your landscape like dry air and wind that are so different from the sheltered life they’ve been used to. Even sun-loving plants can struggle if they’re planted into full Colorado sun on day one. It’s takes a little self-control on our part not to plant them the minute we get them home, but it’s well worth the wait.
Step #2: Make your watering count
Whether you’re growing your annuals in landscape beds or containers, make sure you’re getting water down to the roots of the plants! Actually, this rule applies across the board to all plants… annuals, perennials, lawns, shrubs and trees.
Don’t give annuals and other plants “sips” of water. Water them deeply, until you’re sure the moisture is reaching the root ball of each plant. Check the moisture with a water meter from Tagawa’s or a wooden skewer, or gently insert a trowel to see how deep the water reached.
With plants growing in containers, apply water until it just begins to drain out from the bottom of the pot. This technique will draw the roots deeper into the soil where it’s easier for them to survive, especially during hot weather.
Step #3: Steady with the fertilizer
Not too little. Not too much. Go for “just right.” Fertilize your annuals with a dose of high-quality plant food at one-half to one-quarter strength every week or so.
Plants growing in containers can get especially “hungry” because the nutrients in the soil are routinely being leached out with regular watering.
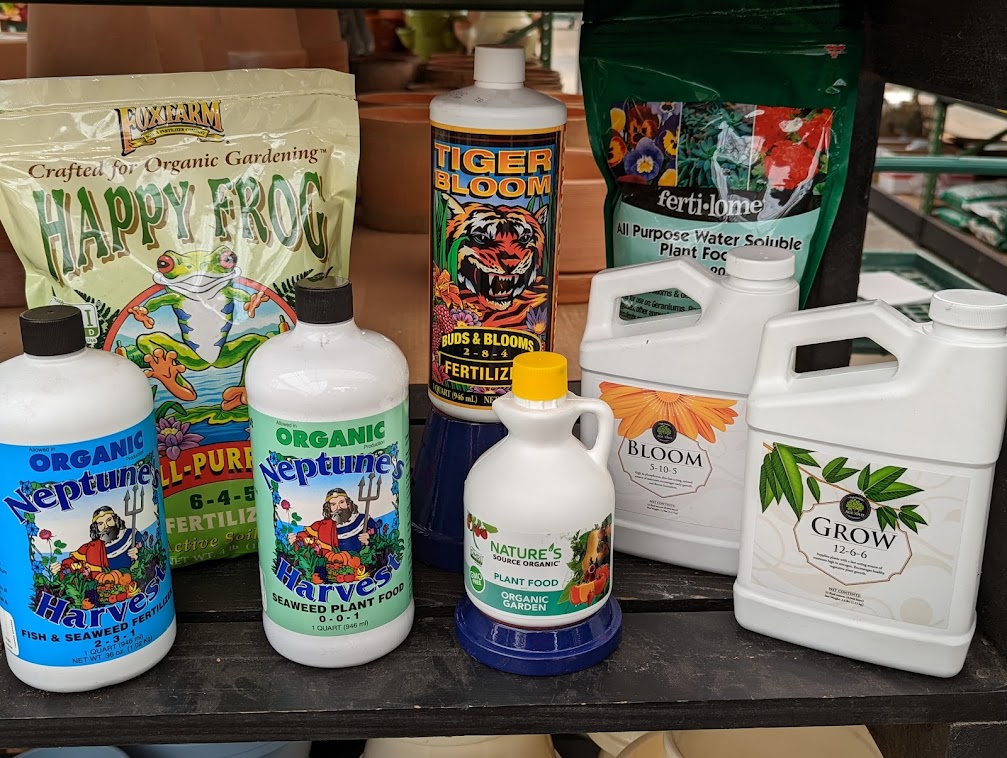
Tagawa’s carries an excellent assortment of fertilizers that can help keep your annuals in top shape. With my own summer containers, I’ve noticed that midway through the season, they start to look “tired” if I get lazy or inconsistent with feeding them. Tagawa’s Garden Advisors at Dick’s Corner will gladly recommend a plant food that will work best for your annuals and the way you garden.
Step #4: A little regular primping and pruning goes a long way!
I love shaggy dogs. (Actually, I love all dogs, but especially shaggy ones.) But even my dog Gus seems to get an extra sparkle in his eyes when he returns from a day at the groomer’s. (Trust me: there really is a pair of sparkling eyes beneath these shaggy bangs.)

Your plants may not “sparkle” after a bit of sprucing up and trimming the way Gus does, but they’ll usually look a whole lot tidier and more robust.
If a petunia gets a bit long and leggy, trim the stringy stems back to where the growth is more full. If one of several plants in a bed or container isn’t thriving, remove it! Replace it with something else or let the other nearby plants fill in the space.
And by all means, remove blossoms just as soon as they begin to fail. “Deadheading” not only makes the plants look better instantly but also encourages your annuals to put out more flowers. After all, having more flowers is the point, right?
Step #5: Visit your plants often, up close and personal
Never put your annuals on auto-pilot. Too many things like pests and diseases can take hold quickly when we’re not paying close attention.
One afternoon last summer, I noticed some damage from a geranium budworm on a petunia in one of the large container gardens. None of the other petunias nearby showed any signs of trouble.
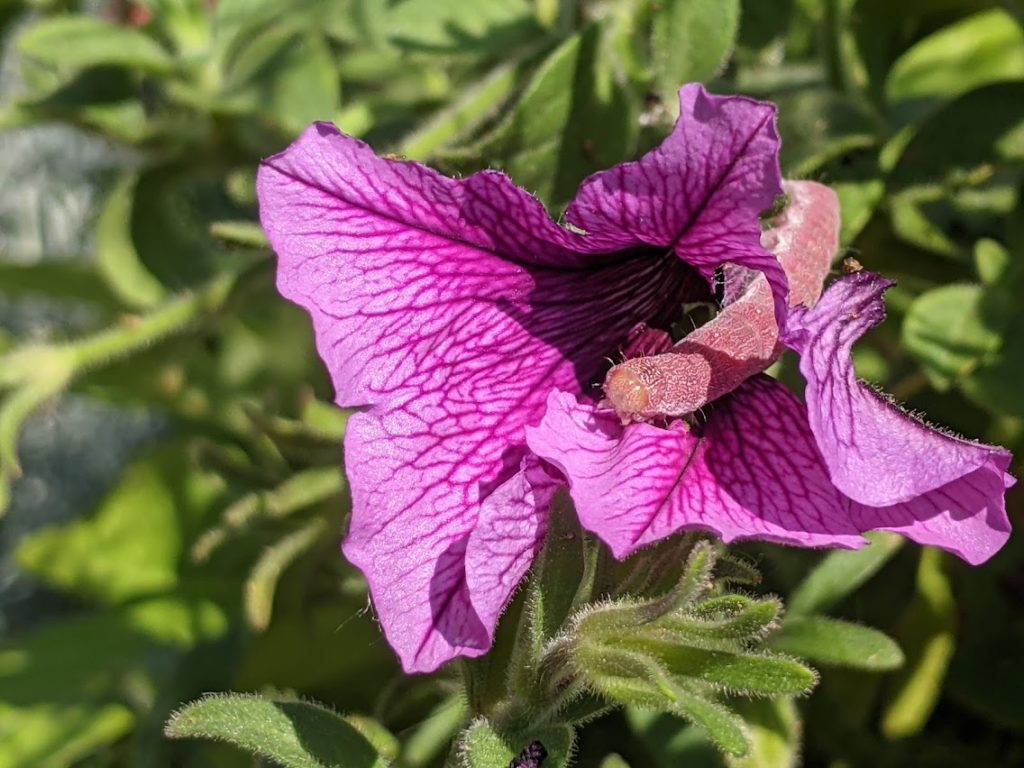
As I looked closer, who (or what) should appear but the culprit itself! So much for these critters feeding primarily away from bright daylight!
By poking around a bit, I saw lots more damage on that same plant. Some “Dipel” (a.k.a. Bt) fixed that problem, but if the damaged plant hadn’t been front and center in the container, I may not have noticed it until many more blossoms had been chewed.
If you find signs of pests or diseases, we encourage you to bring a fresh, tightly-bagged sample to the Garden Advisors at Dick’s Corner inside Tagwa Gardens for identification and suggestions on how to fight back.
Getting into a simple and basic care routine with our annuals can help give us a spring and summer season full of color and compliments!
